Endodontic Education: Root Camp Boot Camp
Dear Clinicians,
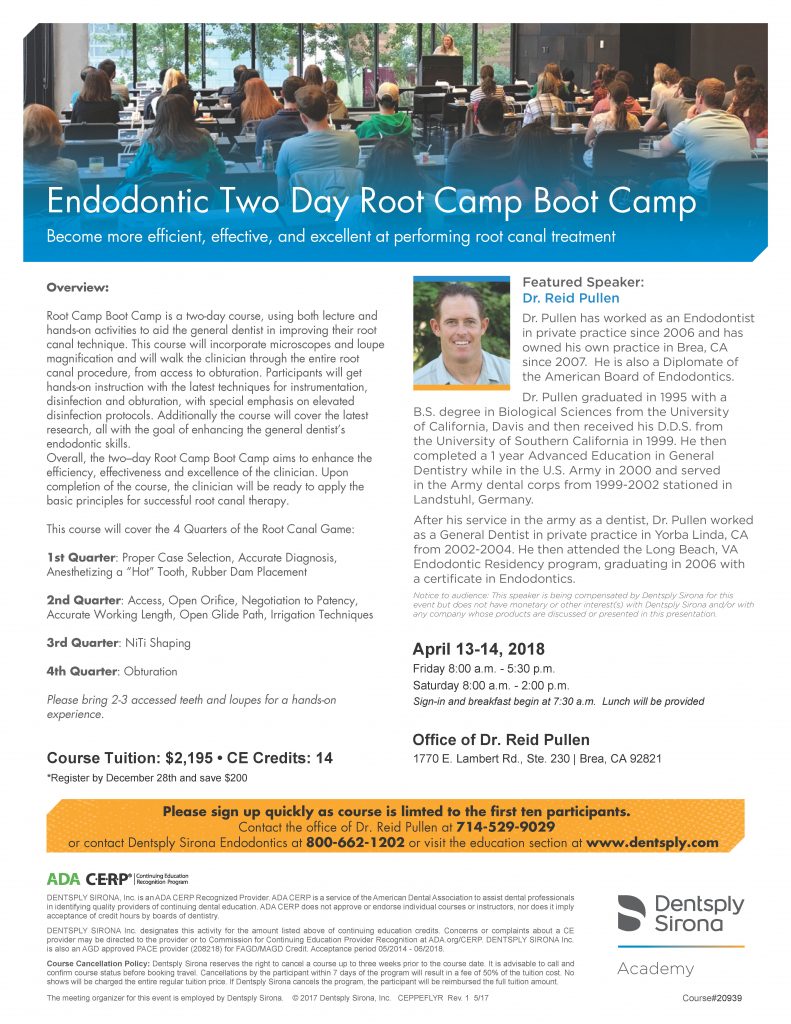
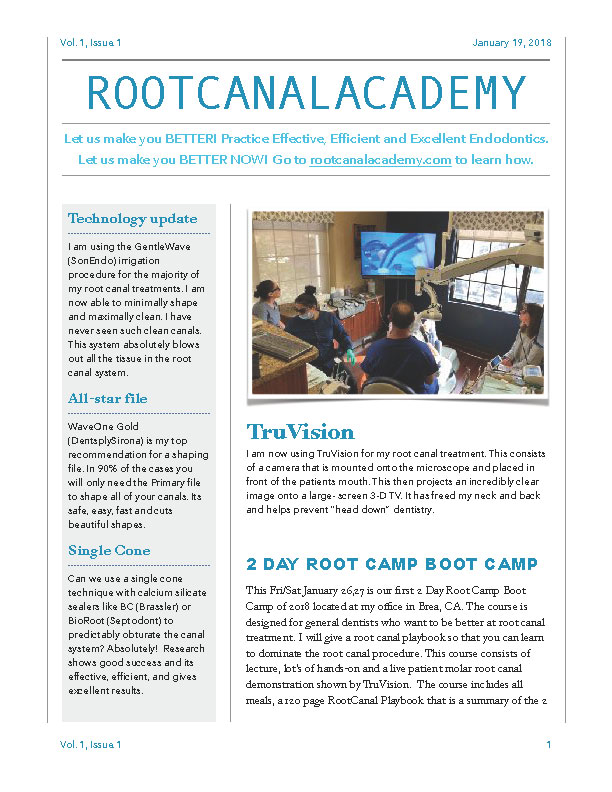
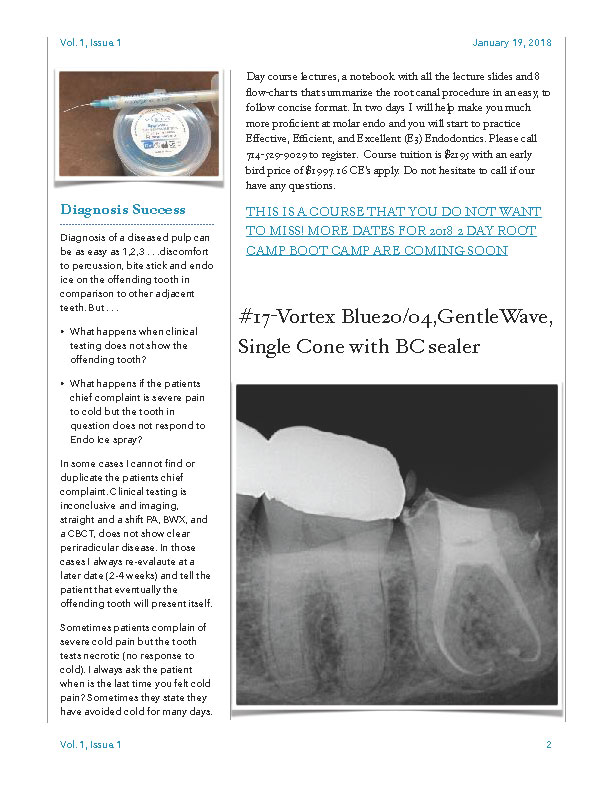
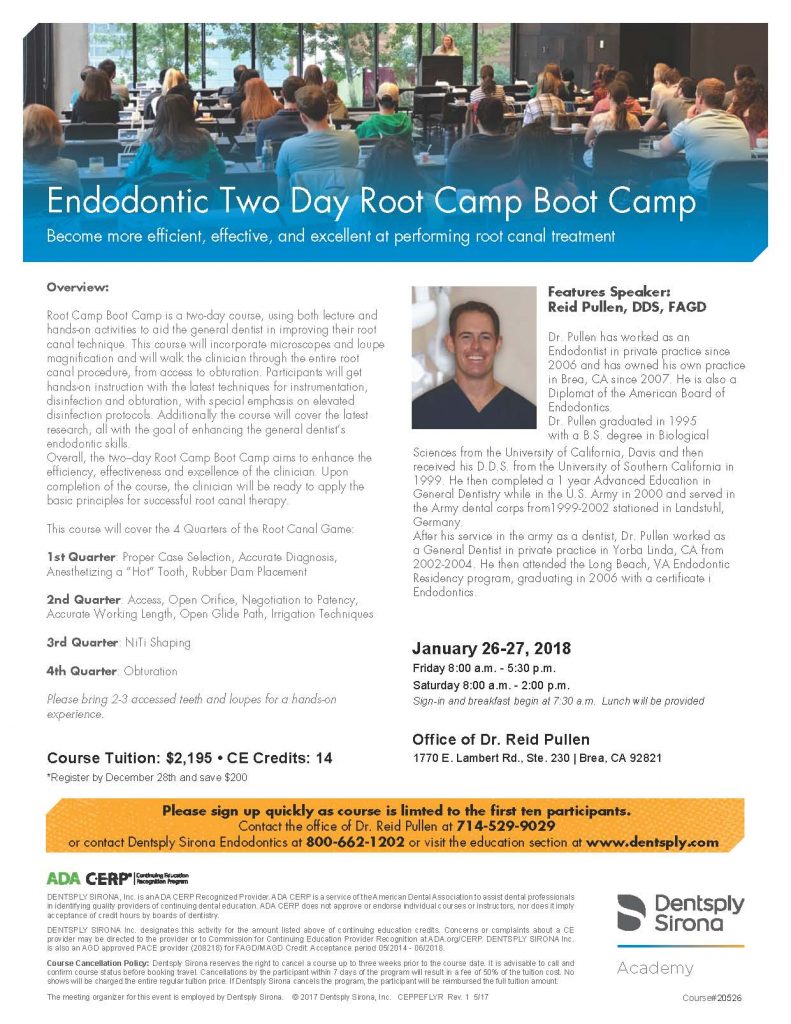
I would like to introduce our 2 Day Root Camp Boot Camp where our goal is to make you better. The 2 Day Root Camp Boot Camp has been going strong for 4 years and is proven to help you become an effective, efficient and excellent root canal clinician. This course is designed for the general dentist and includes lecture, discussion, plenty of hands-on and a live patient molar demonstration performed on the Tru Vision Television monitor for easy viewing. This is a fun informative course designed to get you back in the root canal game and achieving predictable results. This Friday/Saturday January 26-27, 2018 course in Brea, CA includes all meals and a dinner at the amazing Brea Yardhouse. To reserve your spot for this exclusive course please sign up quickly as this course is limited to twelve participants, and is first-come, first-serve. Contact the office of Reid Pullen at (949) 529-9029, or contact Dentsply Sirona Endodontics at (800) 662-1202, or visit the education section of www.Dentsply.com. We look forward to seeing you and making you the best root canal clinician possible.
Sincerely,
Reid V. Pullen, D.D.S.
Diplomate of the American Board of Endodontics
Founder of Rootcanalacademy.com
WAVEONE GOLD GLIDER
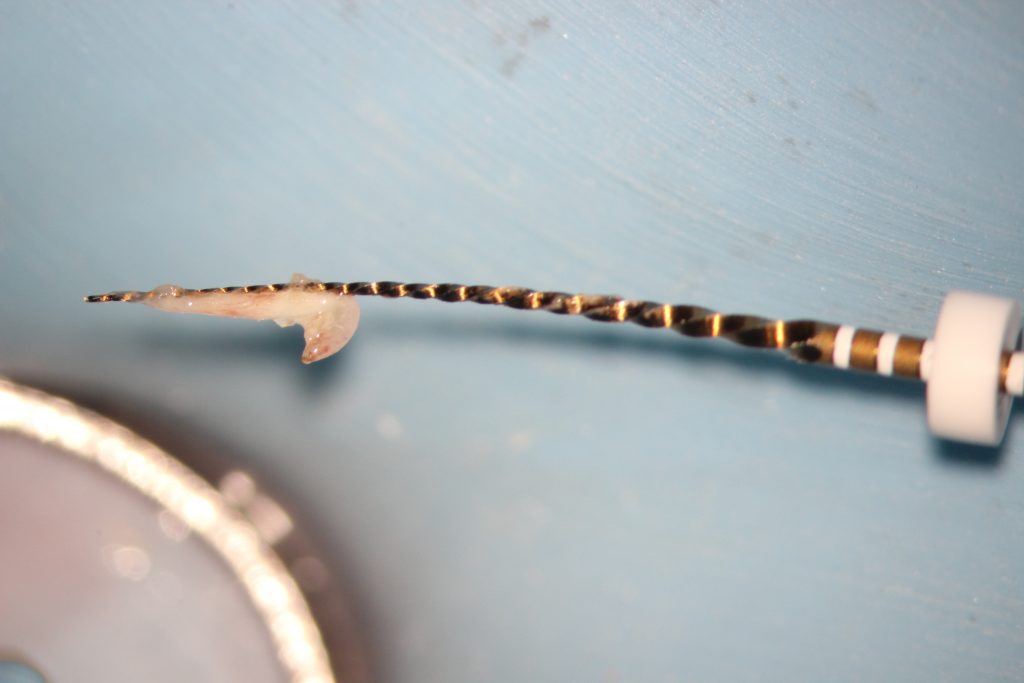
Recently a new glide path file was introduced to the market by DenstplySirona called WaveOne Gold Glider. This glide path nickel titanium file works in a unequal bidirectional reciprocating fashion. The tip of the file is equal to a #15 and has a variable taper. The WaveOne Gold Glider is designed to cut an open glide path in an extremely safe and efficient manner. The glide path shape also enhances the efficiency of the WaveOne Gold shaping file and other shaping files like Vortex Blue (2 of my personal favorites). The WaveOne Gold Glider comes in a gold wire nickel titanium that is heat treated and is extremely flexible and resistant to cyclic fatigue. These file design principles equal less file separation and thus more confident clinicians.
I am a huge fan of the ProGlider, a rotary glide path file with a 0.16 tip and variable taper made of M-wire NiTi. I have been using ProGlider to obtain an efficient and safe open glide path for years (ever since it came out) and have used it thousands of times. I have separated this file on two occasions and on both of those it was a second or third use (bad boy!). To date I have not separated a new ProGlider and highly recommend new Niti for new cases. Follow the principles of the Root Canal Playbook from the 4 Quarters of the Root Canal Game and you will greatly reduce if not eliminate file separation.
So when the WaveOne Gold Glider came out I was very excited because I love new and improved technology and I wanted to know if it performed as well or better than the ProGlider. I am currently 200+ cases in using the WaveOne Gold Glider and can confidently say that it’s as good and possibly better than the ProGlider (and I love the PG). This file has numerous kickass characteristics. It all starts with gold wire and in my opinion heat treated gold or blue wire (WaveOne Gold, ProTaper Gold, Vortex Blue- DentsplySirona) are some of the best NiTi’s on the market. This specially treated NiTi wire makes it more resistant to cyclic fatigue and thus more resistant to file separation. The WaveOne Gold Glider is also a reciprocating NiTi file that mimics the technique of hand filling to safely negotiate down the canals. It has a parallelogram cross section similar to the WaveOne Gold that only contacts the canal wall in 2 spots at any given time. It has a 0.15 Tip size and comes in lengths 21, 25, and 31mm. It has a shortened shaft length of 11mm making it easier to insert into the canal. It is made for single use and once sterilized the white plastic ring will swell and it will not fit back into the ProMark or IQ X-Smart Hand piece. Obviously, you can always cut the white plastic piece off the handle with a carbide and the file will then fit nicely into the hand piece. But again, I recommend new Niti files when using new cases (the material overhead is very low for a root canal verses the production).
So Let’s talk about technique: First, locate canals and confirm coronal glide path or working width with a #10 and a #15 K file (just place it into the canal 10-15mm). Now open up the orifice with a Niti orifice opener (I recommend the Vortex 25/08 or 25/10 from DentsplySirona), and negotiate down to patency with a #8 or #10 K file (no small feat), obtain an accurate working length, and work up the #10 K file so that it is LOOSE at working length. Once you have a loose #10 K file to working length than it is GO TIME! At this point I am celebrating because I feel that I own this canal that I will be able to open my glide path and shape this canal in minutes. Now irrigate with bleach and start advancing down the canal with the WaveOne Gold Glider until you hit some resistance (sides of the canal wall). Once you hit resistance continue for another 3-4mm (cutting phase) to allow the file to engage the canal and then cut the canal wall. Disengage back 3-4mm and then reengage another 3-4mm but deeper down the canal. Perform 4-5 engagement/disengagements, pull-out and re-irrigate with 3-6% bleach and check patency with a #10 K file (recapitulate). Again, perform 4-5 engagement/disengagements until you reach working length with the WaveOne Gold Glider. I like to touch and brush the working length 3-4 times just to make sure the glide path is open. Pull the file out and re-irrigate with bleach and check patency. Typically I can reach working length on simple to medium difficult cases in one pass (4-5 engagement/disengagements) which makes obtaining an open glide path very very efficient. Once an open glide path is achieved with the WaveOne Gold Glider than it is really GO TIME! to start shaping with the WaveOne Gold Primary. I have noticed that the shaping with the WaveOne Gold Primary is even more efficient after using the WaveOne Gold Glider to obtain an open glide path.
Happy Glide Path Shaping!
Keywords: WaveOne Gold Glider, Glide Path, WaveOne Gold
E3 Endodontic Teaching: Making Dentists ‘Better Tomorrow’
Who doesn’t want to be better? Well, that’s why I started Root Canal Academy–to make you Better Tomorrow! Let me describe my E3 objectives for RootCanalAcademy.com …
Check out our Root Canal Playbook. Become a Resident Member of Root Canal Academy. Or try us by joining our Join RCA’s Free Library. Whether you are seeking immediate knowledge for a patient diagnosis or treatment, or long-term learning for increasing your practice’s production, we have solutions for you.
–Reid Pullen
* * * *
RCA’s email list will keep you informed, as will our Twitter and LinkedIn feeds below. Thanks for visiting!
PROROOT ES — ROOT CANAL SEALER
ProRoot ES (Endodontic Sealer) from Dentsply Tulsa is a new sealer that came to market in May 2016. It comes in a box with 12 MTA like packets and 12 gel ampules. Each packet is intended to be a unidose and contains plenty of powder to predictably obturate any tooth in the mouth whether it has 1 or 6 canals. In this RCA product demonstration, I’ll describe Dentsply’s ProRoot ES, communicate its benefits, and in a patient video demonstration, provide insight to how to use ProRoot ES with patients.
Calcium Silicate Sealer
ProRoot ES represents a continuing paradigm shift in endodontic sealers toward calcium silicates or bioceramics. These new sealers are not just sealers but can also serve as an apical filler. Historically the gutta percha cone is buttered or lightly coated with a thin layer of Thermaseal Plus Ribbon Sealer (Dentsply Tulsa) or Pulp Canal Sealer EWT (Kerr Endodontics) and then placed in the canal to working length. The ultimate goal is to have a thin layer of sealer between the gutta percha, dentin and any portal of exit (foramen). The sealer serves as a sealer and in this technique it is better to have a tight fitting gutta percha cone that “fits and fills” the apex or the foramen with just a small layer of sealer in between. The Warm Vertical compaction technique serves to heat the apical end of the gutta percha so that it can be molded and plugged to intimately fill the foramen or apical exit thus obtaining an excellent seal between the ‘inside’ and ‘outside’ of the canal system.
ProRoot ES Description
ProRoot ES Packaging Micronized Gutta Percha
In reality, it is difficult to place a heated tip into the gutta percha within 4-5mm of the working length. Heat only travels 4-5mm down the gutta percha point so in order to heat the apical 1/3 and get a true apical seal the heated tip must reach that level. Often times this is not possible due to canal curvature, length, or smaller canal shapes (04 taper). So in essence the majority of dentists are performing a single cone obturation with Thermaseal Plus Ribbon Sealer or Pulp Canal Sealer EWT due to the fact that they are unable to get the heated tip within 4-5mm of the apical gutta percha.
It is my opinion that most dentists are performing a single cone obturation with the wrong sealer mainly because they feel warm vertical condensation is either too technique sensitive or takes too much time.
Why use calcium silicate sealers?
ProRoot ES represents a shift in sealer technology in that it not only seals the canal system but it also acts as a filler. Dentists can perform a double butter single cone hydraulic condensation with ProRoot ES and the new Dentsply Tulsa micronized gutta percha points (excellent fit due to greatly reduced error rate on size) and not worry as much if the apical end of the gutta percha cone fits perfectly into the foramen size. The ProRoot sealer will flow into the apical foramen filling any excess space and forming a tight seal.
ProRoot ES Patient Demonstration
What are some other benefits of ProRoot ES and calcium silicate sealers?
1- Massive reduction of post-operative sensitivity.
2- Osteogenic/Osteoconductive= can promote cementum growth
3- Antibacterial
4- Setting pH 11.6, Set pH 11.7
5- Bonds to the dentin and gutta percha
6- Hydrophilic= the sealer will set in moisture
7- Excellent Flowability
8- Excellent Coatability- the sealer coats the dentinal walls in a 360 degree fashion
9- Does not promote periradicular inflammation
10- 65 minute working time
11- Relatively quick set time of 12 hours (quick in the sealer world)
12- Re-treatable
13- Can seal apical perforations (in theory)
Here is what the packaging looks like:
Calcium silicate sealer, such as ProRoot, can certainly help us with our desired E3 goals of being more effective and efficient, yielding excellent results with patients.
–Reid Pullen
* * * *
Interested in being ‘Better Tomorrow?’ Become a Resident Member of Root Canal Academy. Or try us by joining our Join RCA’s Free Library.
RCA’s email list will keep you informed, as will our Twitter, Facebook, and LinkedIn feeds below. Thanks for visiting!
- « Previous Page
- 1
- …
- 7
- 8
- 9
- 10
- Next Page »